ENAMEL PIN ARTWORK GUIDE
Enamel pin artwork guide:
turn your idea into pin-ready artwork.
This enamel pin artwork guide starts with whatever you have—a logo, sketch, photo, finished vector file, or simple description—then explains how we prepare a clear production proof.
No production-ready artwork required.


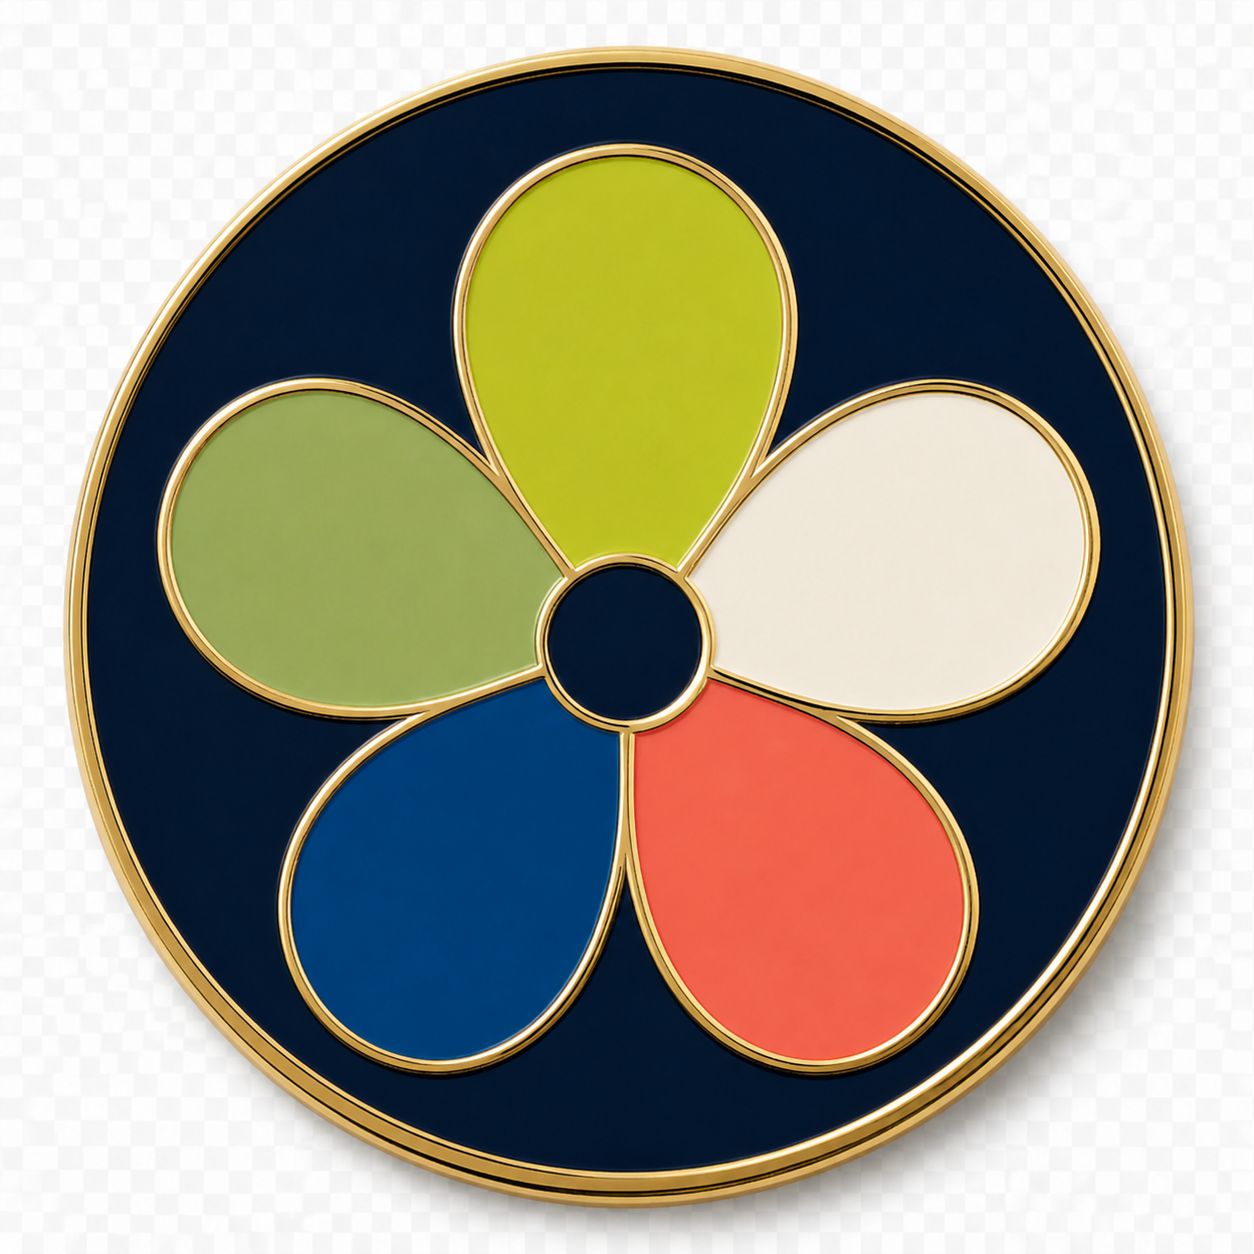
Every project is reviewed for its actual size, construction, and artwork.
WHAT YOU CAN SEND
Your file does not need to be perfect.
Use the best source you have. We will tell you whether it is ready, needs adaptation, or would be better in a different pin construction.
Editable artwork
AI · EPS · SVG · PDFVector artwork gives us the cleanest shapes, lettering, and color separation to review.
Images and logos
PNG · JPG · PDFSend the largest, clearest version you have. A transparent background is useful but not required.
A starting idea
Sketch · Photo · Existing pin · NotesYou do not need finished artwork to request an estimate or begin an artwork review.
FOUR DESIGN PRINCIPLES
Make the important part easy to see.
Exact production limits depend on the pin size, construction, and artwork. These principles help before any final technical recommendation is made.
Keep the silhouette clear
A strong outside shape helps the pin read quickly before anyone notices the smaller details.
Give wording room
Small lettering and crowded lines may need to be enlarged, shortened, or simplified for the chosen size.
Separate important colors
Enamel colors are divided by metal. Clear color areas usually reproduce more confidently than tiny gaps or continuous gradients.
Protect the focal point
Decide what people should notice first. Details that compete with that idea can often be removed without weakening the design.
FROM UPLOAD TO PROOF
Approved before it becomes physical.
The proof is the shared production reference. Review it carefully; it is where the final design direction is confirmed.
- 01
Send what you have
Upload the artwork, reference, or description with your estimate request.
- 02
We review the design
We check construction, readability, color separation, and the size needed for the important details.
- 03
Approve the digital proof
The proof records the shape, metal, colors, wording, dimensions, and production direction.
- 04
Production follows approval
Manufacturing begins only after the proof and final order details have been approved.
CONSTRUCTION CHANGES THE ART
Choose the surface and size with the design.
A good artwork decision is connected to how the finished pin will feel, how large it will be, and which details need to survive at that scale.
Soft enamel for visible depth
Raised metal and recessed color suit bold shapes and tactile artwork. Explore soft enamel.
Hard enamel for a flat polished face
Clean color areas and controlled shapes suit a smooth, refined surface. Explore hard enamel.
Size follows the smallest important detail
Text and layered illustration may need more room than a simple icon. Use the size guide.
ARTWORK QUESTIONS
Before you prepare a file.
Do I need vector artwork?+
No. Vector artwork is helpful when it is available, but you can begin with a logo, PNG, JPG, sketch, photo, or written direction. We review what you send and explain what needs to be prepared for production.
Can you recreate a sketch or low-resolution image?+
Often, yes. A clear reference can be redrawn or simplified for pin production. We confirm the usable direction and any important limitations before the project moves forward.
Will I see a proof before production?+
Yes. The digital proof confirms the outside shape, metal areas, colors, wording, size, and other approved specifications before manufacturing begins.
Can I request changes to the proof?+
Yes. Review the proof carefully and send the changes you need. Production begins only after the final proof is approved and the order steps in the final quote are complete.